

Here's a really simple DIY and YouTube tutorial of how to turn a maxi skirt into a dress. The idea behind this post was down to my mum throwing out a couple of maxi skirts with some pretty nice prints on so I salvaged them from the charity shop pile and decided to turn them into dresses starting with this blue polka dotty faded print which I love as it's perfect for summer! So overall this DIY cost me a grand total of ABSOLUTELY NADA! I decided to opt for a simple scoop neck, sleeveless dress which naturally took an A-Line silhouette from the shaping of the maxi skirt. Would you like to see another variation of this tutorial with different dress styles? (I am planning on doing this to the other maxi skirts but will not do a tutorial unless you guys want me to!) If you don't have an old maxi skirt lying around that you no longer have no need for or you want to try this DIY out you can always nip to a charity shop or even sale sections of Primark for a cheap maxi! Skip to the bottom of this post for my step by step YouTube video!

Here's what you'll need;
- Maxi Skirt
- Dress to trace around
- Scissors
- Pins
- Tape Measure
- Tailors Chalk
- Sewing Machine

Firstly trace around the dress of your choice using a tailors chalk, making sure you add 2cm around the armholes and the necklines to account for seam allowances. Make sure that the armholes finish at the side seams of your maxi before cutting out. Draw different necklines for the front and back and try to make sure the traced outline is symmetrical.

Next, cut along the chalked lines. It might be easier if you draw the front of the dress first and cut out the first layer (up to the side seams) before tracing around the front layer to ensure the back layer is the same, make sure you draw a higher neckline for the back.
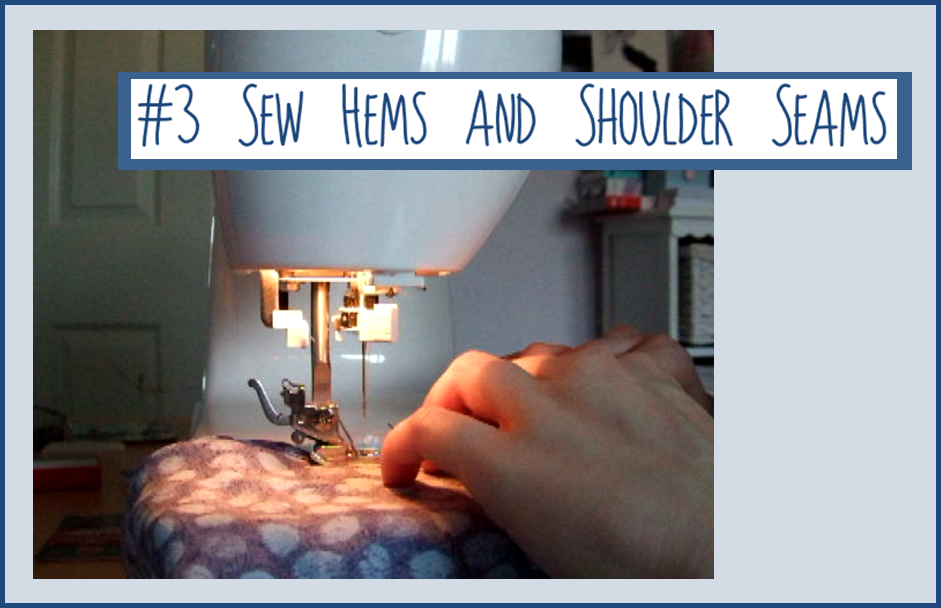
Now all that's left to do it sew the hems and shoulder seams (edges you have cut out from the maxi skirt). I would advise you use rolled hems and french seams so that the raw edges aren't visible and to make your final dress a better quality. If you don't know how to do this, simply google it and you will find an easy tutorial. Voila - once this is complete you have your finished dress!
I hope you liked this tutorial, make sure you like and subscribe to my YouTube channel and I would appreciate any feedback - good or bad! Hope you're having a fab summer and thank you for reading!
x
So cool, love fashion tutorials x
ReplyDeletehttp://looklovewear.blogspot.co.uk/2014/06/diy-distressed-mom-jeans.html
Thank you xx
Delete