I've loved kimonos for a substantial amount of time now and have wanted to invest in one but the most gorgeous ones tend to retail at around £30-40 which I've not warranted as acceptable to part with money for. So after seeing the lovely Allie from tie-dye-eyes post a DIY tutorial recently on how to make your own, I whacked it on my summer to-do list and here's my little do it yourself kimono. I opted for a tropical style print and a white pom-pom trim to create a bright summer look! I also love Allie's black and gold coin combo!
Firstly you'll need to draft your pattern pieces based on your measurements, you'll find how to do this on Allie's tutorial.
Next, pin and cut out the front and back pieces, making sure the front has space for your neck. Cut the back piece on the fold of your fabric so that you have one piece and cut two of the front piece.
Next sew the kimono together with rolled hems and french seams to encase raw edges and improve quality, you will especially need to do this if you are using a lightweight fabric. Also make sure you don't pull the fabric towards you whilst sewing as this may rouche/gather the hems and seams.
Finally add trims and embellish as you wish!
Here's Allie's ace YouTube tutorial that I followed to make this kimono, I'm really happy with how it's turned out! Let me know if you try out this tutorial I would love to see what you make!
Here's a really simple DIY and YouTube tutorial of how to turn a maxi skirt into a dress. The idea behind this post was down to my mum throwing out a couple of maxi skirts with some pretty nice prints on so I salvaged them from the charity shop pile and decided to turn them into dresses starting with this blue polka dotty faded print which I love as it's perfect for summer! So overall this DIY cost me a grand total of ABSOLUTELY NADA! I decided to opt for a simple scoop neck, sleeveless dress which naturally took an A-Line silhouette from the shaping of the maxi skirt. Would you like to see another variation of this tutorial with different dress styles? (I am planning on doing this to the other maxi skirts but will not do a tutorial unless you guys want me to!) If you don't have an old maxi skirt lying around that you no longer have no need for or you want to try this DIY out you can always nip to a charity shop or even sale sections of Primark for a cheap maxi! Skip to the bottom of this post for my step by step YouTube video!
Here's what you'll need;
Maxi Skirt
Dress to trace around
Scissors
Pins
Tape Measure
Tailors Chalk
Sewing Machine
Firstly trace around the dress of your choice using a tailors chalk, making sure you add 2cm around the armholes and the necklines to account for seam allowances. Make sure that the armholes finish at the side seams of your maxi before cutting out. Draw different necklines for the front and back and try to make sure the traced outline is symmetrical.
Next, cut along the chalked lines. It might be easier if you draw the front of the dress first and cut out the first layer (up to the side seams) before tracing around the front layer to ensure the back layer is the same, make sure you draw a higher neckline for the back.
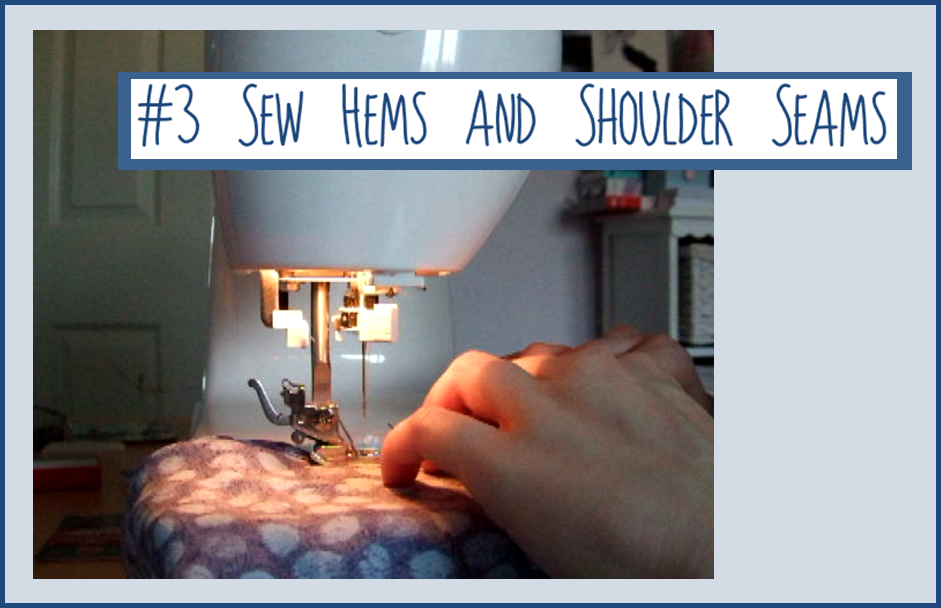
Now all that's left to do it sew the hems and shoulder seams (edges you have cut out from the maxi skirt). I would advise you use rolled hems and french seams so that the raw edges aren't visible and to make your final dress a better quality. If you don't know how to do this, simply google it and you will find an easy tutorial. Voila - once this is complete you have your finished dress!
I hope you liked this tutorial, make sure you like and subscribe to my YouTube channel and I would appreciate any feedback - good or bad! Hope you're having a fab summer and thank you for reading!
So I have fallen completely in love with the two-piece/co-ord trend at the minute but when they're being sold at 20+ pounds for each garment I just thought it wasn't worth investing in one (this was pre-student loan day). When I was at home over Easter I decided to whip one up myself in a purple gingham print because I also love the gingham print at the minute and I've always wanted to incorporate more sewing tutorials on my blog beings as I study fashion and just like doing this as a hobby (when I find the time). I picked up the gingham fabric and two zips from a local fabric store in Manchester for under a fiver, you really can't argue with that!
If you're not the best at sewing or are thinking 'I couldn't make that looking at this post, you definitely can it's really not that difficult, check out my DIY tutorial posts on my newly set up Youtube channel to see a step-by-step sewing guide for this two piece. I would love to see your two piece creations and love to hear your feedback as I know the filming and general editing of my videos are a bit shabby and need improving. The top tutorial has been live for a while but I've only just managed to write this post and finish the skirt tutorial because I've had copious amounts of coursework to do which got sent off on Friday (woo!) so I've only got one exam to go before I've finished second year, I hope coursework deadlines and revision is going well for anyone in college or uni! Anyway I'm rambling, I've posted both Youtube videos on this blog post and included instructions of how to draft the pattern pieces for the top and the skirt which is missing from the videos.
DIY Co-ord Tutorial Part One; Top
DIY Co-ord Tutorial Part Two; Skirt
Pattern Drafting Instructions;
Top
Take appropriate measurements as outlined in the diagram and draw the top pieces using the additional landmarks specified. Draw the pieces onto pattern paper if you have some, you can buy some from your local fabric store or even eBay! If not just tape A4 paper together. Any additional measurements added on these instructions are to allow for movement and good fit of the top and for darts.
My Measurements with Seam Allowance (will fit Petite Size 8-10)
I have included a diagram with the measurements that I used for my top that you may find easier to use if you are of a similar size! You can check specific measurements like bust and waist and alter them accordingly if these differ.
Facings
Take the pattern pieces as drawn previously and draw around the neckline and draw the facings of appropriate widths as shown. Seam allowances will also need to be added to these pieces which need to be; 1cm on the neckline and hemline and 1.5cm on the shoulder seams.
Seam Allowance
If you have drafted the pattern pieces with your own measurements and instructions from the first top diagram you will need to add the following seam allowances;
Skirt
Here is how to draft the pieces for the skirt, any additional measurements are to allow for movement and the creation of darts;
My Measurements with Seam Allowance (will fit Petite Size 8-10)
Again, here are the measurements that I used which should fit a size 8-10, these measurements include seam allowance so if you use these measurements don't add seam allowance which is outlined in the next diagram. Ignore this section if you are drafting your own pattern.
Seam Allowance
If you have drafted the pattern pieces with your own measurements and instructions from the first top diagram you will need to add the following seam allowances;
Lining and Facings
Once the seam allowances have been added, draw around both the front and back pieces again, take away 2cm from the waist measurement of the back piece to remove the dart from the lining. Next draw the same waistline curve 6cm below on both pieces to leave the facings and lining pieces, a 1cm seam allowance will need to be added to where these pieces have been cut.
Make sure you let me know if you try out this tutorial, I'd love to see what you make and good luck for anyone doing exams! x