

So I've had this plain sleeveless shirt lying around for over a year and I've only worn it a handful of times (Story of my life). I wanted to spruce it up a little in an attempt for it to showcase itself outside of that of my cluttered wardrobe! Knowing that I wanted to do something with the collar so that the shirt would be more interesting with or without a jumper; I got my creative juices flowing and thought the best option would be to embroider a pattern on the collar.
I've seen embroidered/tapestry/cross-stitch garments hit the high street here and there in varying styles. My favourites taking influences from Japanese floral patterens and 19th century tapestries. Here are a few pieces that coincide with this DIY post;

Sophia Floral Oriental Kimono £20 Boohoo
Moto Floral Embroidered Jeans £50 Topshop
Freya Floral Embroidered Denim Hotpants £18 Boohoo
I didn't want to directly copy any of these prints so I went in search of patterns that would flow well with the collar shape. Recently, I took a trip to London with my best friend where we visited the Saatchi and V&A in addition to mandatory shopping. In the V&A there were gorgeous Turkish tiles and ceramics which really inspired me so I thought these would be perfect for this little DIY project.
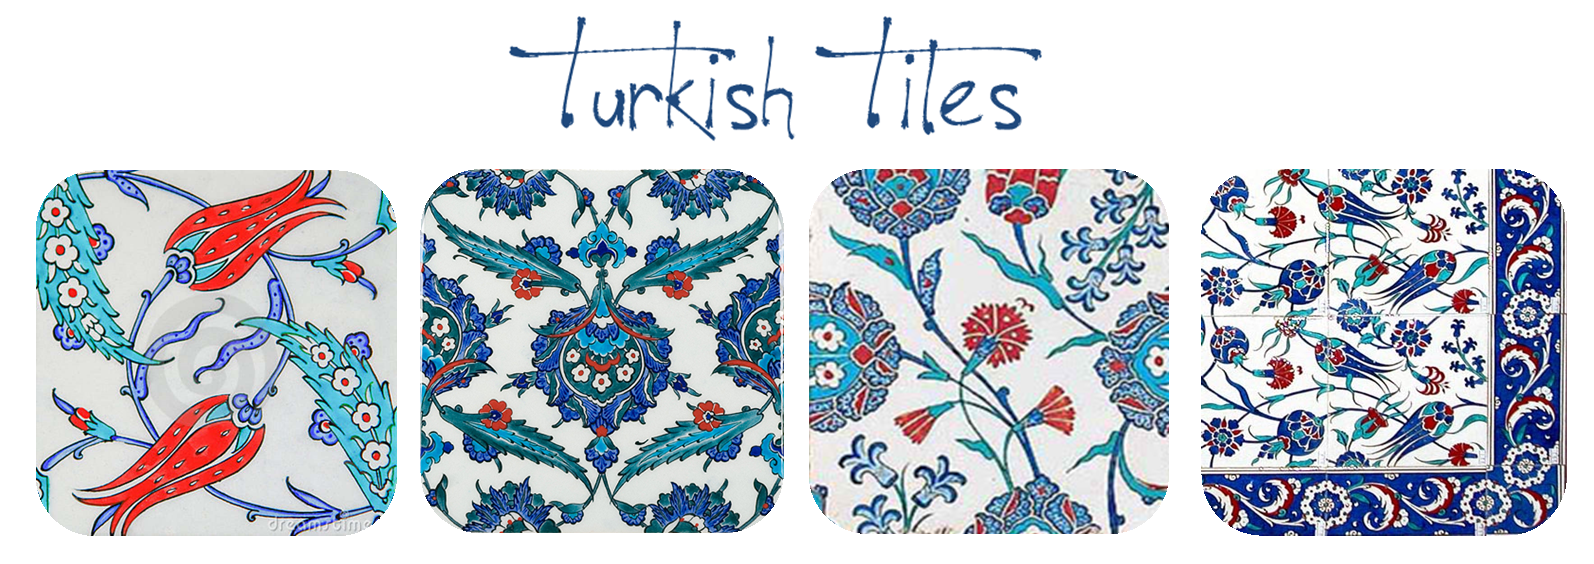
I collected a few images of Turkish floral designs and sketched the design that I wanted on the collar. I love the collar schemes on these Turkish tiles and the intricacy of their repeating patterns.

Here's my easy step by step guide of how to make your own DIY embroidered Collar. I must admit this was quite time consuming to make but I just did 15 minutes here and there at night with the telly on in the background!


- Find an old shirt or buy a cheap one from Primark or eBay.
- Trace the basic shape of your collar and sketch your design.
- Pick some embroidery threads from a Hobbycraft, market or fabric shop. I was lucky my mum has a lot of embroidery threads!
- Sketch in pencil the basic shapes of your design onto the collar itself.
- Grab a needle and you're ready to go. I recommend that you divide the embroidery thread up; they're usually made up of 6 smaller threads so I divided them up into 3 lots of 2 threads so it was less bulky and easier to achieve more detailed shapes.
- I sewed one colour at a time as I thought this was easier but it doesn't really matter. I also tried to make sure most of the stitches were facing the same direction to get the tapestry effect.
And there you have it, an easy way to liven up an old top. You could even embroider necklines of old tops not necessarily a collar, I might even embroider the pocket on this top to match if I find the time.
Although I think I could've taken more care when sewing the pattern and that it could be a lot neater I think I will wear this shirt far more than I have done, particularly in AW! Hope you enjoyed this post and let me know if you decide to make your own embroidered creations!

x